Tazer JL Mini Install Guide — Every Feature It Unlocks (Plus How to Update the Firmware)
By Trail Tested TX | Houston, TX
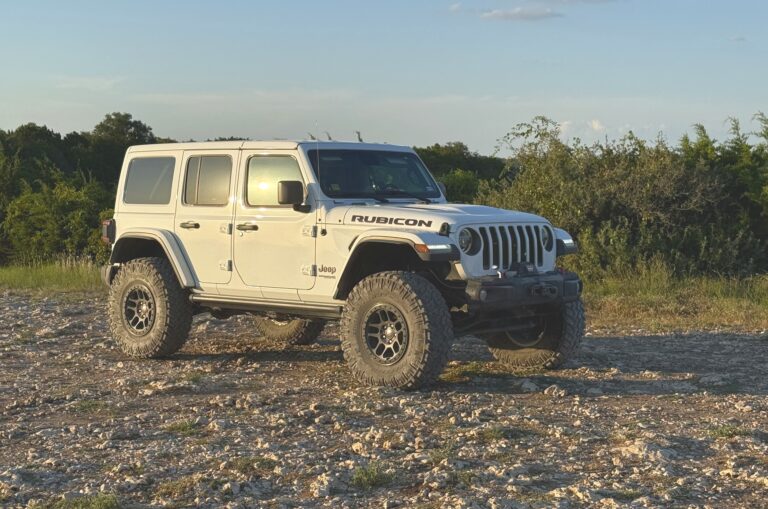
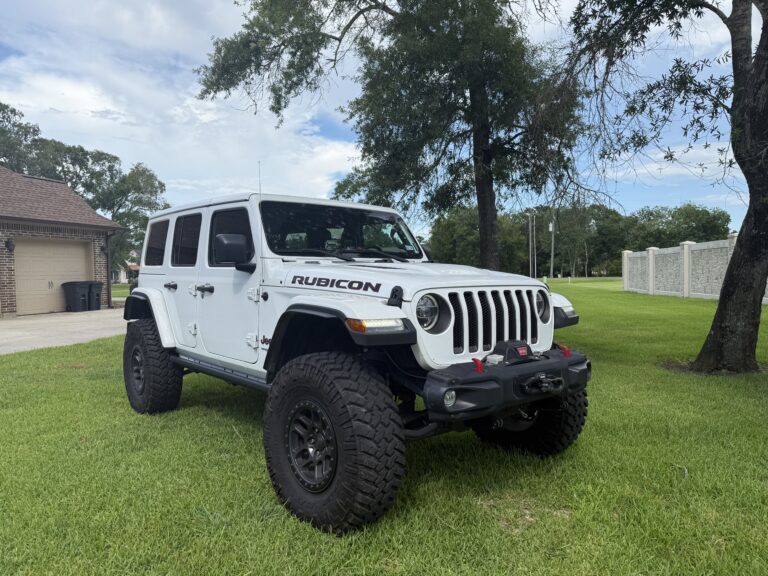
If you’ve spent any time in JL Wrangler forums, you’ve seen the Tazer JL Mini come up constantly — and for good reason. A Tazer JL Mini install is one of the highest-value mods you can do on a Wrangler or Gladiator. No tuning knowledge required, no dealer visit, and it plugs in where a factory module already lives. I installed mine on my 2022 Rubicon and it took about 10 minutes from start to finish.
Get the Tazer JL Mini here — also available on Amazon if you’d rather use Prime shipping.
Here’s the firmware update first — do this before you ever plug it into the Jeep — then the install steps, then everything it unlocks.
What Is the Tazer JL Mini?
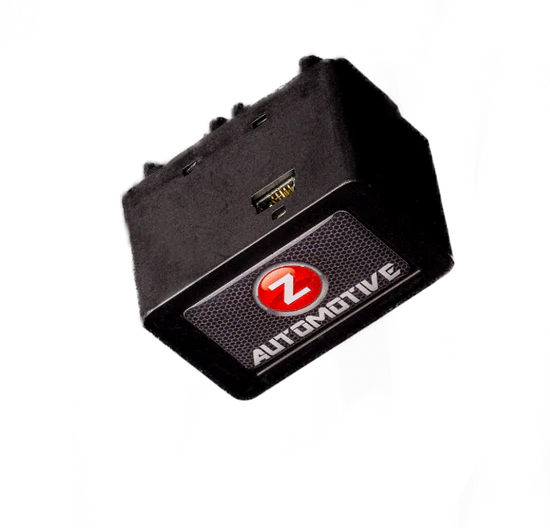
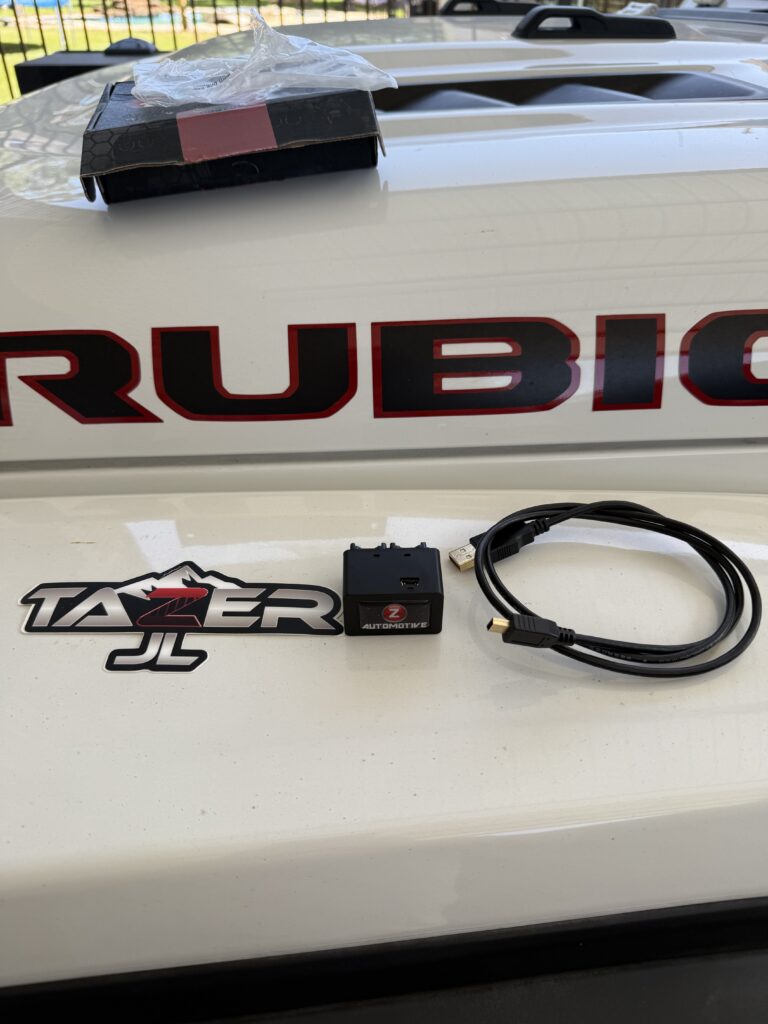
The Tazer JL Mini is a plug-and-play programmer made by Z Automotive that connects to your Jeep’s SGW (Secure Gateway) connectors. A Tazer JL Mini install gives you in-dash control over dozens of vehicle settings that are normally locked out or buried in dealer-only diagnostic tools — sway bar disconnect at speed, traction control kill, camera tricks, light shows, and more. It’s compatible with 2018-2024 Wrangler JL, 2020-2024 Gladiator JT, and 2021-2024 Wrangler 4XE.
What You’ll Need
- Tazer JL Mini
- A laptop, Mac or Windows (for the firmware update, before install)
- 10 minutes for the physical install
- Technically no tools required — the connectors just pull apart by hand. That said, I’d still recommend picking up a cheap interior trim removal tool kit. You can absolutely muscle the lower dash panel off with your fingers, but the plastic prying tools give you a lot more leverage with a lot less brute force, which means less chance of snapping a clip or gouging the panel. It’s a small investment that’ll pay for itself the first time you need to get back in there — these kits run cheap on Amazon and will come in handy again for the front camera install, a radio swap, or any other dash work down the road.
[Video: Full Tazer JL Mini install, start to finish]
Step 1 — Update the Firmware Before You Install
Do this first, right out of the box, before the Tazer ever touches your Jeep. It often doesn’t ship with the latest firmware, and it’s much easier to update on the bench than to pull it back out of the dash later.
- Download the ZPU (Z Automotive Programming Utility) software from Z Automotive’s website — free for both Mac and Windows.
- Plug the Tazer JL Mini into your laptop via USB.
- Open ZPU and click “Update.”
- Follow the prompts to install the latest firmware. You’ll see a progress indicator during the flash process.
- Once it confirms the update is complete, unplug it from the laptop — it’s ready to install.
A couple of notes from experience: if the update seems to hang, downloading the firmware file manually and using ZPU’s manual update path tends to be more reliable. You don’t need to chase every single release — if your current version handles everything you need, there’s no harm in sitting on it until a feature you actually want gets added. Going forward, plan on repeating this same process every so often to stay current, since it requires pulling the Tazer back out to plug it into a laptop each time.
Step 2 — Tazer JL Mini Install
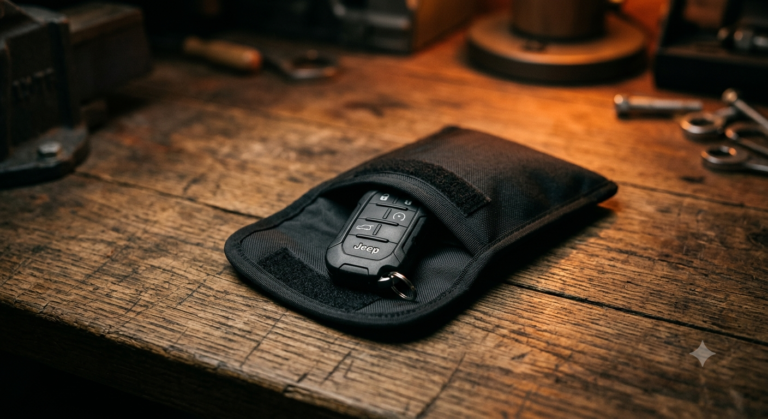
- Turn the vehicle off and remove the key/fob from the area.
- Remove the panel underneath the steering wheel. This is the trim panel that gives you access to the OBD2 port and SGW connectors. It’s held on by pop clips — go slow and pry gently and evenly around the edges rather than yanking on one spot, or you risk snapping a clip.
- Locate the two SGW connectors, mounted just above the OBD2 diagnostic port.
- Unplug both SGW connectors — press the tab with your index finger and gently pull straight down on the wires to release each one. Go slow here and watch your knuckles: the connectors sit right up against a metal support bar, and the gap you’re working in is tight. It’s an easy spot to scrape or nick your hand if you’re rushing or forcing it, so take your time and work your fingers in at an angle rather than jamming straight in.
- Plug both connectors into the Tazer JL Mini in their place.
- Tuck the Tazer JL Mini somewhere secure near the OBD port — it can be left plugged in permanently, since many of its Live Functions only work while it’s connected.
- Start the vehicle. For any function involving the dash (EVIC) display, the screen first needs to be showing the Audio menu — get there using the steering wheel arrow buttons. From there, hold the left arrow and tap Cruise Cancel to open the Tazer menu, and select “Marry?” to pair the Tazer to your Jeep. It’ll download your Jeep’s current settings — this takes about 15 seconds. Don’t disturb the process.
One thing worth flagging if you’re filming this for the trail cam crowd: every time you change a Vehicle Setting or Unmarry, Z Automotive requires a Full Reboot followed by two sleep cycles before the change fully takes effect — otherwise settings may not save, or the dash may not power down properly. Run “Full Reboot?” from the menu, then turn the ignition off, open and close the driver’s door, wait about 60 seconds after the dash goes dark, then turn the ignition back to Run (not the engine) and repeat once more.
Make future access easier with the SGW extension cable. Given how tight that space is, one upgrade I’d genuinely recommend is Z Automotive’s SGW extension cable. It relocates the connectors away from that cramped spot behind the metal bar, so if you ever need to get back in there — reinstalling after a firmware update, swapping the Tazer to another vehicle, or working around it for other dash projects — you’re not fighting the same tight squeeze all over again. Worth grabbing at the same time as your Tazer: SGW extension cable on Amazon or direct from Z Automotive.
Features It Unlocks
Once married, the Tazer JL Mini’s features fall into three categories: Vehicle Settings (set once, persist even after unplugging), Live Functions (menu-based, only active while plugged in with the engine on), and Non-Menu Live Functions (automatic or triggered by a button combo, also only while plugged in).
A few standout Live and Non-Menu functions:
- Sway bar disconnect in 2WD, up to 30 mph automatically, or at any speed if mapped to a button
[Video: Sway bar disconnect in action]
- Locker control on demand in 2WD/4Hi — engage rear-only or front+rear lockers with a button press (Rubicon, Mojave)
- AutoStopStart and AutoTracKill — the Tazer remembers your last on/off preference for auto stop/start and traction control between drives
[Video: AutoStopStart and AutoTracKill settings]
- TurnCam — automatically activates the backup camera when your turn signal is on
[Video: TurnCam demo]
- Dark Mode — kills exterior and dash/radio/shifter lighting while parked, engine running
- Light Show — 6 preset plus 3 custom light shows, triggerable from the keyfob or a mapped steering wheel button
- Rock Crawl and Anchor Mode — lock all four brakes to hold the Jeep still on an incline or while working the trail
- Winch Mode — one of my favorites for actual trail use. Press a button and the Tazer automatically bumps your idle up to a set RPM (adjustable between 1300–2000), so your electrical system has more juice to work with while you’re winching instead of idling low and struggling to keep up. Touch the accelerator and it cancels itself out automatically, so there’s no forgetting to turn it back off.
- Line Lock — locks the front brakes for burnouts
- Button remapping — assign Cruise +/-/RES to quick-trigger functions like light shows, TC Kill, Rock Crawl, and more
- PIN Lock — a steering wheel button sequence you set that’s required before the vehicle can be driven. If the engine starts and the PIN isn’t entered, shifting into gear locks the brakes and kicks off a Light Show until it’s entered correctly. Worth setting up as a real anti-theft layer — I go into this in more detail in how to protect your JL from a relay attack.
Vehicle Settings worth knowing about:
- TPMS threshold adjustment, plus a TireFill live function — marker lights near each tire flash slow (underfilled), fast (overfilled), or solid (correct) while you air up
[Video: Tire pressure settings walkthrough]
- Read/clear DTCs (diagnostic trouble codes) system-wide or per module
- Tire size and gear ratio calibration for the speedometer, for non-factory tire/gear setups
A note if you’re running larger tires: use your hand-measured tire height (not the size printed on the sidewall) when setting the “Tire” value in the Perf submenu — that’s what gives you accurate speedometer and TPMS readings. After making the change and running through the Full Reboot + two sleep cycles above, Z Automotive also recommends a 20-minute drive, preferably highway, so the sensors fully recalibrate.
- Sway bar warning deletion after removing the electronic sway bar
- Front Axle Disconnect and factory locker deletion, for axle swap builds
I use the sway bar disconnect and TurnCam the most on trail days — the rest is mostly set-and-forget.
Returning to Stock (Unmarry)
If you ever need to send the Jeep in for dealer service, or move the Tazer to another vehicle, select “Unmarry?” from the Vehicle Settings menu, then run the same Full Reboot + two sleep cycles process. This reverts everything back to whatever configuration was present when you originally married the Tazer.
Worth It?
A Tazer JL Mini install is one of the best value mods on this build. It doesn’t touch horsepower or torque, but the quality-of-life and trail-usability features — especially the sway bar disconnect and TurnCam — make daily driving and trail days noticeably easier.
Grab yours from Z Automotive — or on Amazon if you’d rather use Prime shipping.
Next up: now that the Tazer JL Mini install is done, I just picked up the Z Automotive front camera to pair with it, so once that’s installed I’ll have a full write-up on that too.
Affiliate Disclosure: Some links in this post may be affiliate links. If you purchase through them, Trail Tested TX may earn a small commission at no extra cost to you.
By Trail Tested TX | Houston, TX